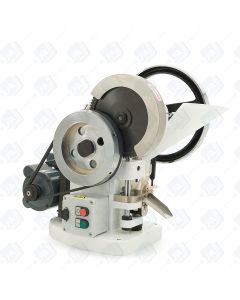
How to Align a Baseplate On a TDP 5
Baseplate Alignment
Welcome LFA’s guide to adjusting your baseplate when its out of line.
If you’re baseplate out of line. This could potentially damage both your upper punch and your die. Damaging your tooling can be expensive and lead to imperfect tablets.
For this, the boot will need to be removed, we have also removed the timing bar, whilst not necessary it provides a little more access.
Step 1
To remove the boot, you’ll first need to remove the set screw on the side using an allen key and then remove the boot bolt and spring by hand or with grippers if needed.
The boot will now be free.
Step 2
If you’d also like to remove the timing bar remove the set screw located on the front of the press.
Next remove the nut securing the second timing bar bolt.
Step 3
Remove the last bolt with an allen key and remove the timing bar, becareful with the cam wheel at the top of the timing bar as this will also be loose.
Step 4
Take an allen key and loosen both of the baseplate bolts underneath to allow you enough room to adjust the baseplate.
Step 5
Gently lower the upper punch with the flywheel into the die bore and leave it in place. This should allow for perfect alignment of the punch and die.
Step 6
Now re-tighten the 2 baseplate bolts with the punch still in the die bore.
Now test by rotating the flywheel by hand.


